Overview
This guide explores EC2 Launch Templates, including their features and configuration options.
Launch Templates are a free feature of Amazon EC2 that allows users to define and manage a consistent set of parameters for launching instances. While templates themselves incur no cost, the resources provisioned are billed according to standard AWS pricing.
Launch Templates streamline the instance creation process by reducing manual input, supporting version control, and ensuring configuration consistency across environments. Launch Templates can simplify permission management and enforce best practices. They are compatible with various instance types, including On-Demand, Spot Instances and Capacity Reservations.
Note: Launch Templates by themselves do not schedule or automate instance launches. They act as a reusable configuration blueprint, but must be integrated with other AWS services to enable automation. Common integrations include:
- Auto Scaling Groups with Scheduled Actions for dynamic scaling
- EC2 Fleet or Spot Fleet for flexible and cost-optimized capacity provisioning
- Amazon EventBridge with Lambda for time-based or event-driven instance launches
Some integrations above are disabled by default and need to be enabled per request to help@cloudbank.org.
The below will guide you through the Launch Template creation options. It also assumes the Launch Templates will be used with an existing Capacity Reservation.
For additional information, please refer to AWS User Guide for Launch Templates.
Creating a Launch Template From Scratch
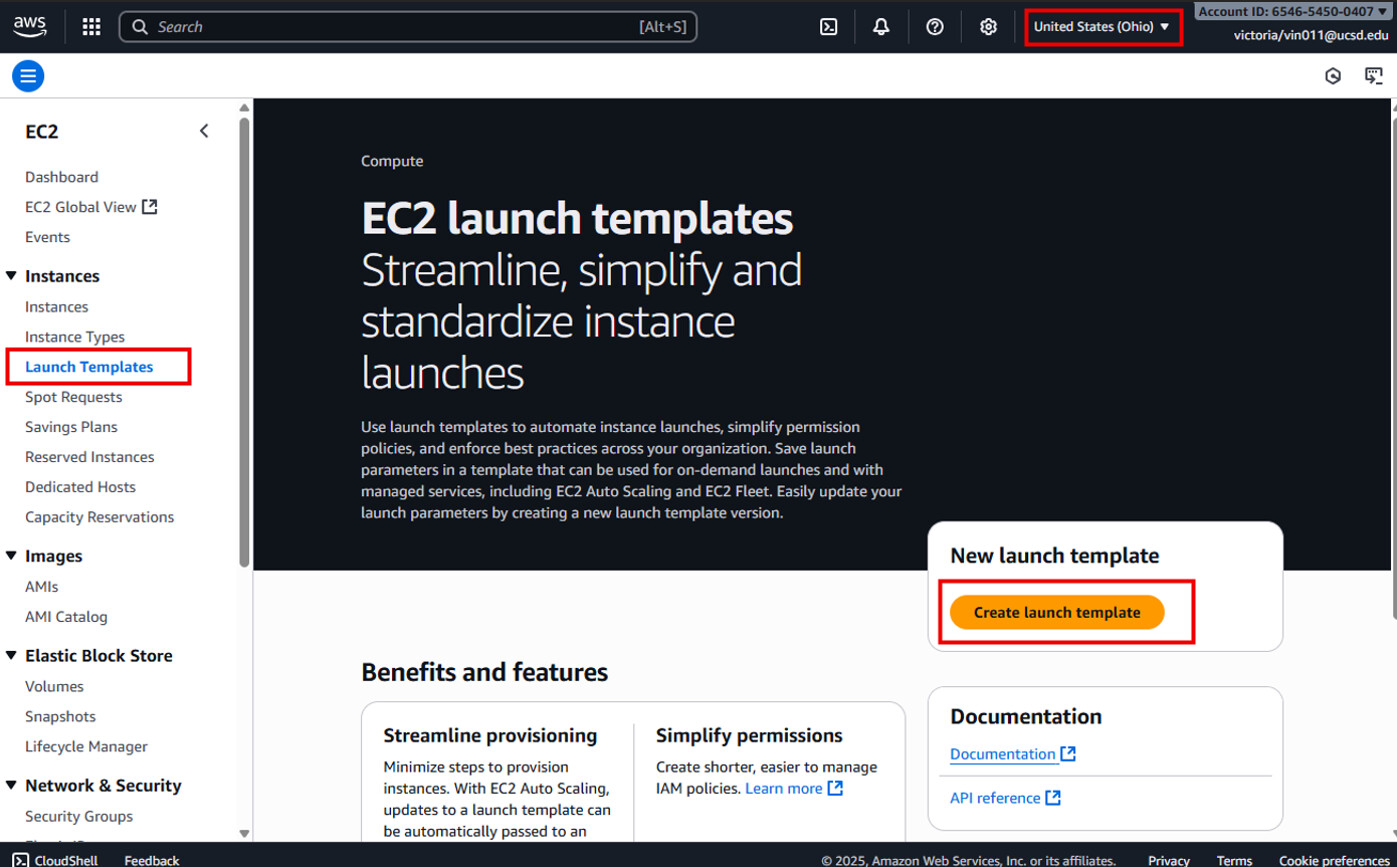
First, ensure the AWS Console is set to the desired Availability Zone (AZ) region for the instance to be launched from. Then go to the EC2 dashboard and select Launch Templates on the left navigation.
If this is your first time, you may see a general overview of Launch Templates; select Create launch template.
Otherwise, if you have used Launch Templates before, you will see the Launch template list. Select the Create launch template button.

Then the page will display several configuration options and fields to fill in. Some are:
- Launch template name
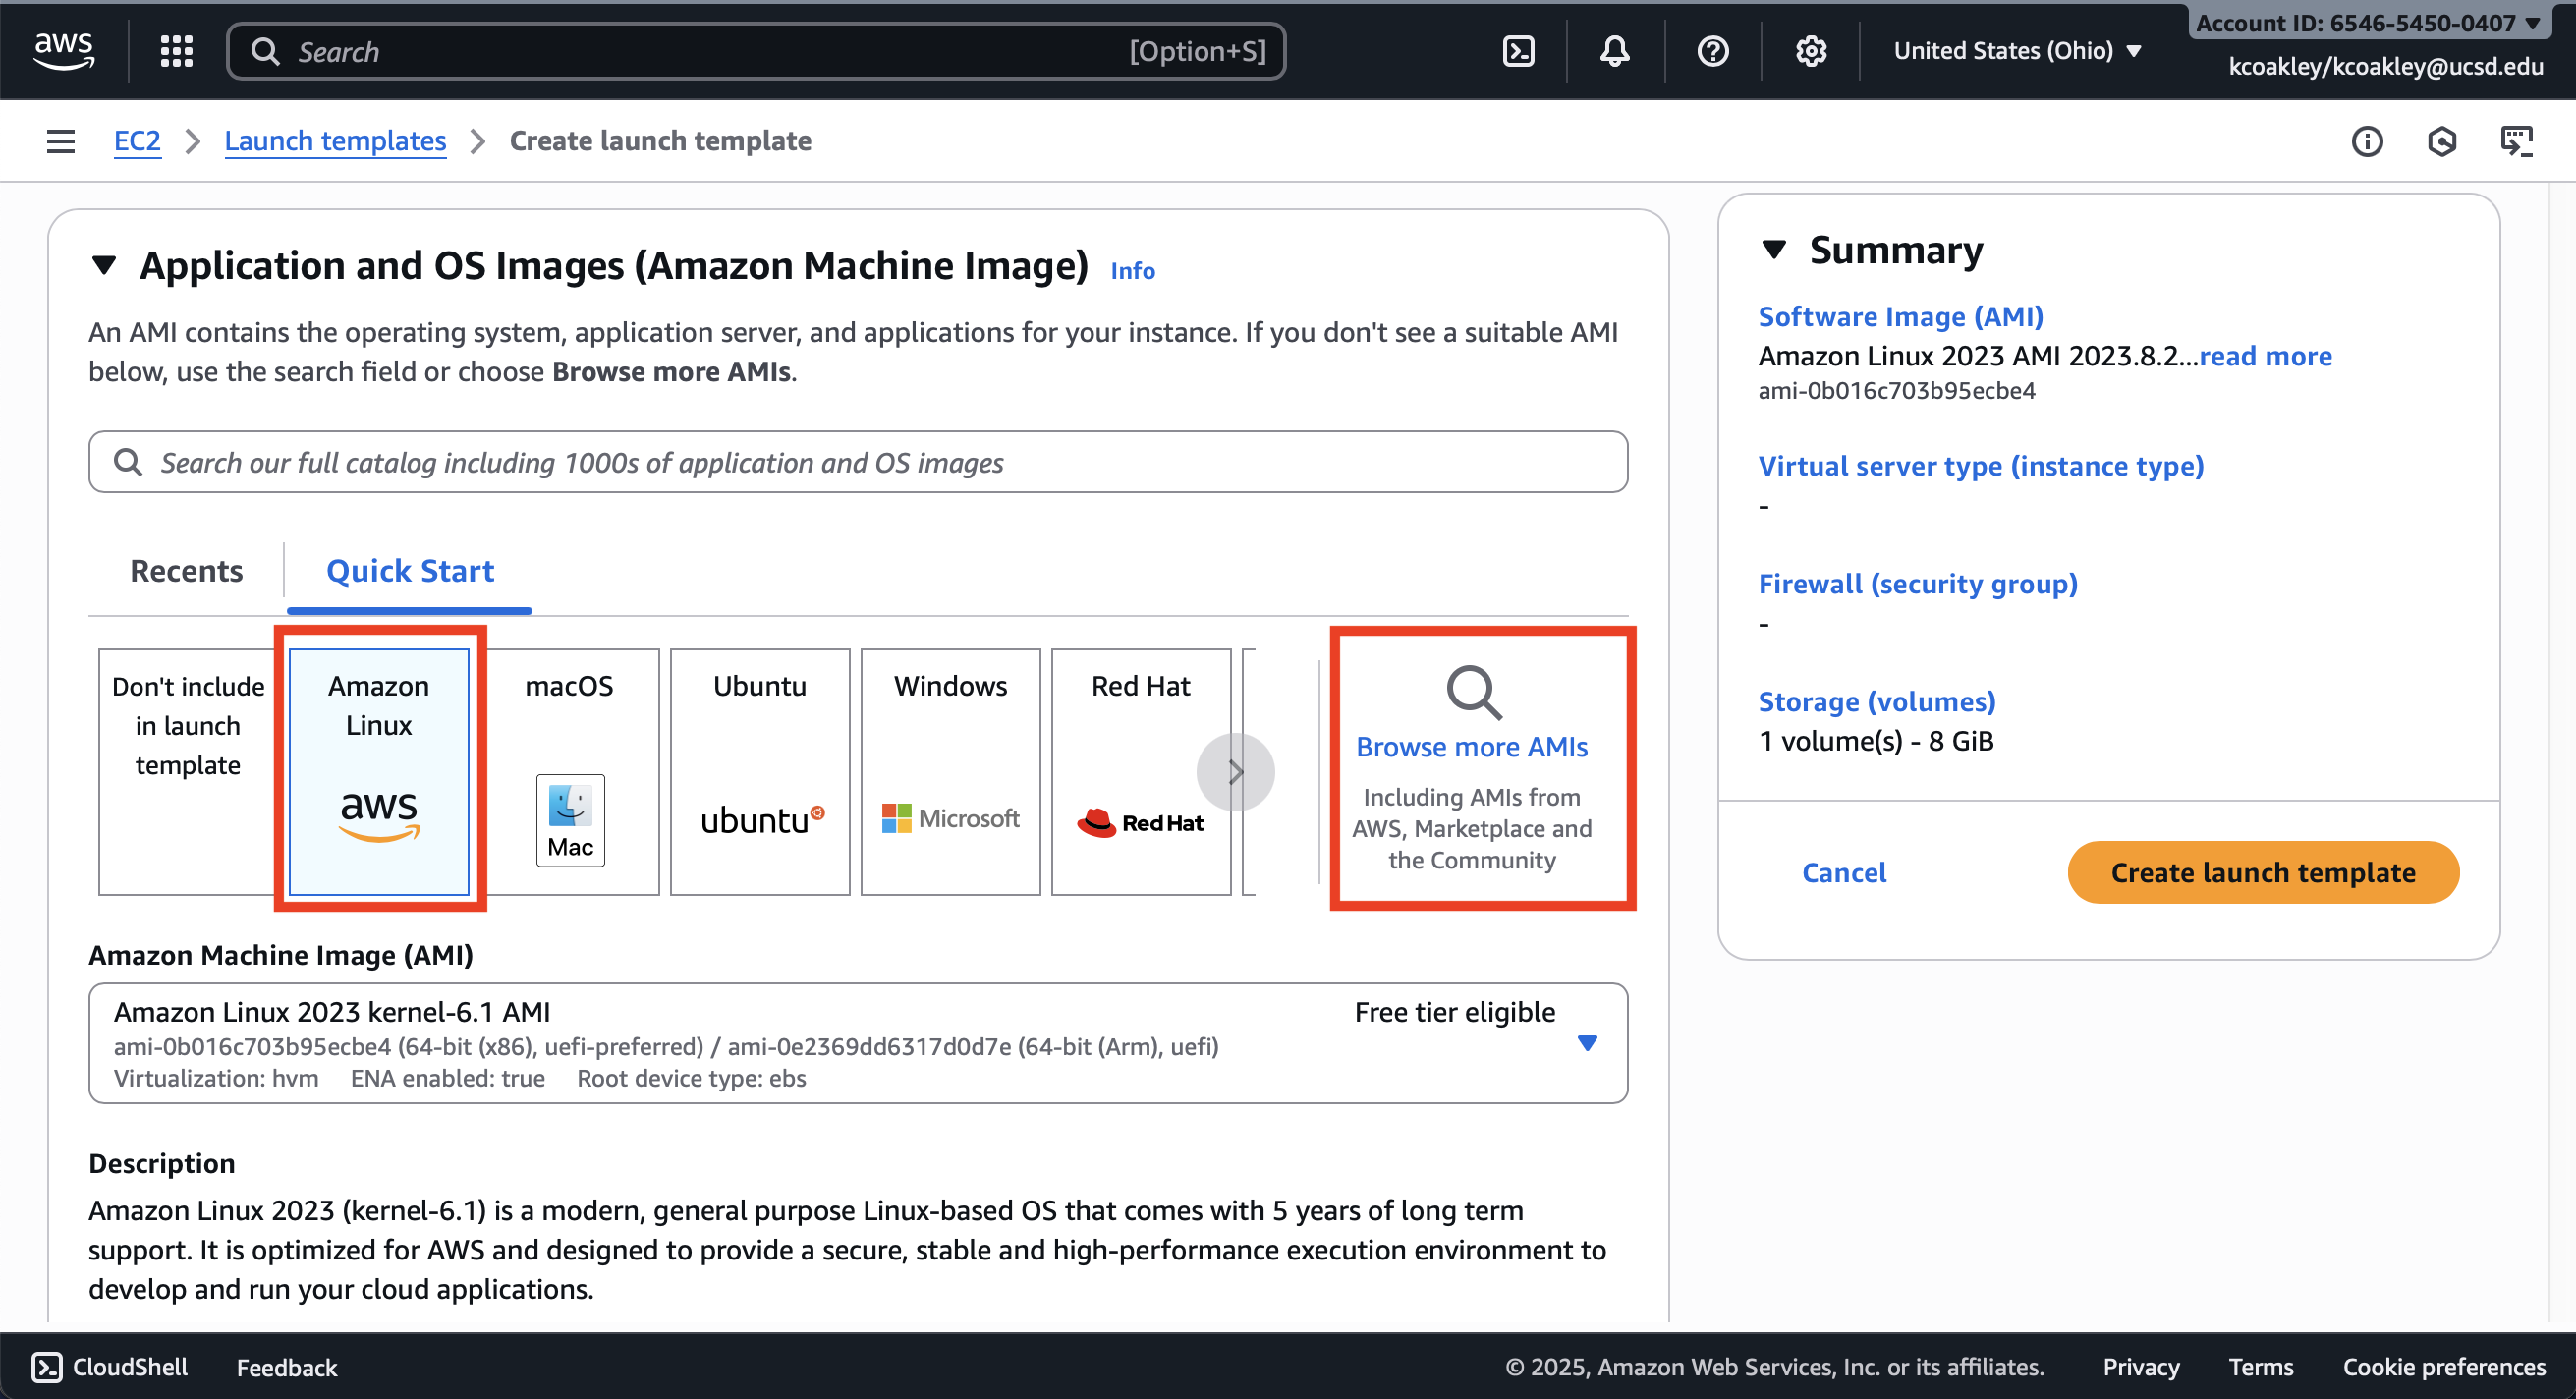
- Application and OS Image (Amazon Machine Image)
- If you created a custom AMI, then select the
Browse more AMIsbutton and choose the AMI that you created for the Capacity Block instance. - Otherwise, select one of Amazon’s default AMIs.
- Note: The AMI must match the “platform” selected when the Capacity Block was created.
- Note: The AMI must match the “platform” selected when the Capacity Block was created.
- If you created a custom AMI, then select the
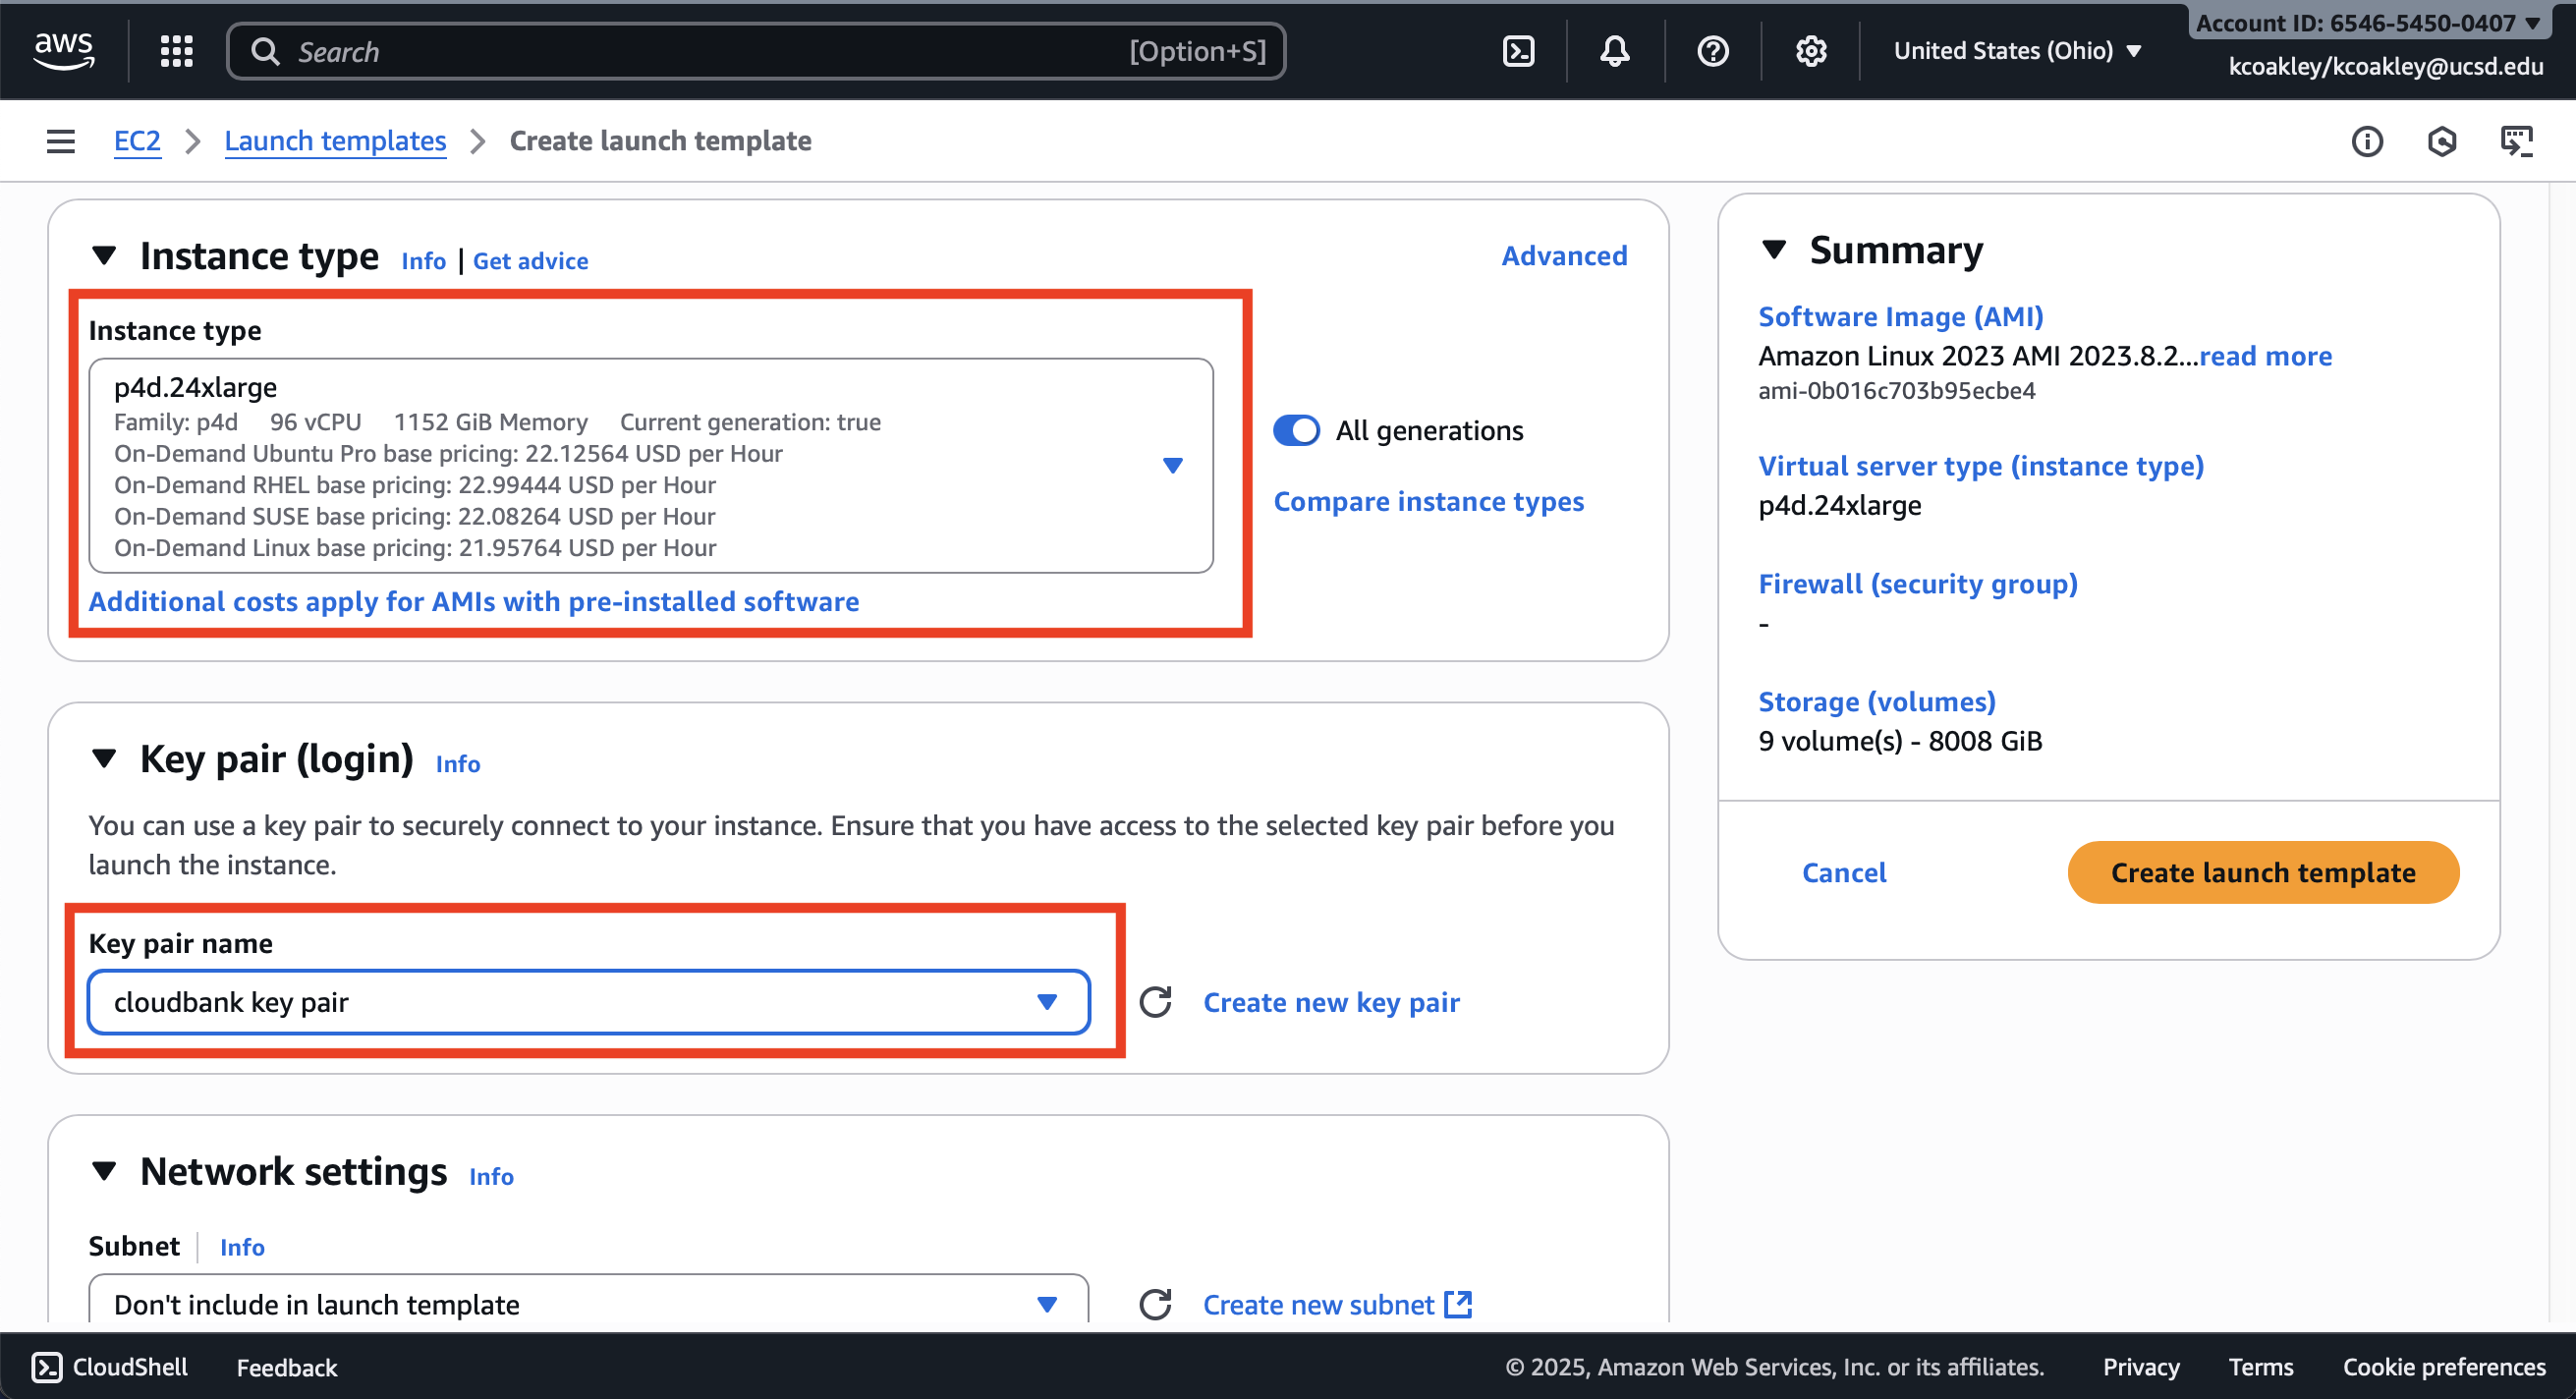
- Instance Type
- Select the
Instance typethat matches the Instance type reserved in the Capacity Block. - Then select the SSH
key pair namethat you want to use to access the instance.
- Select the
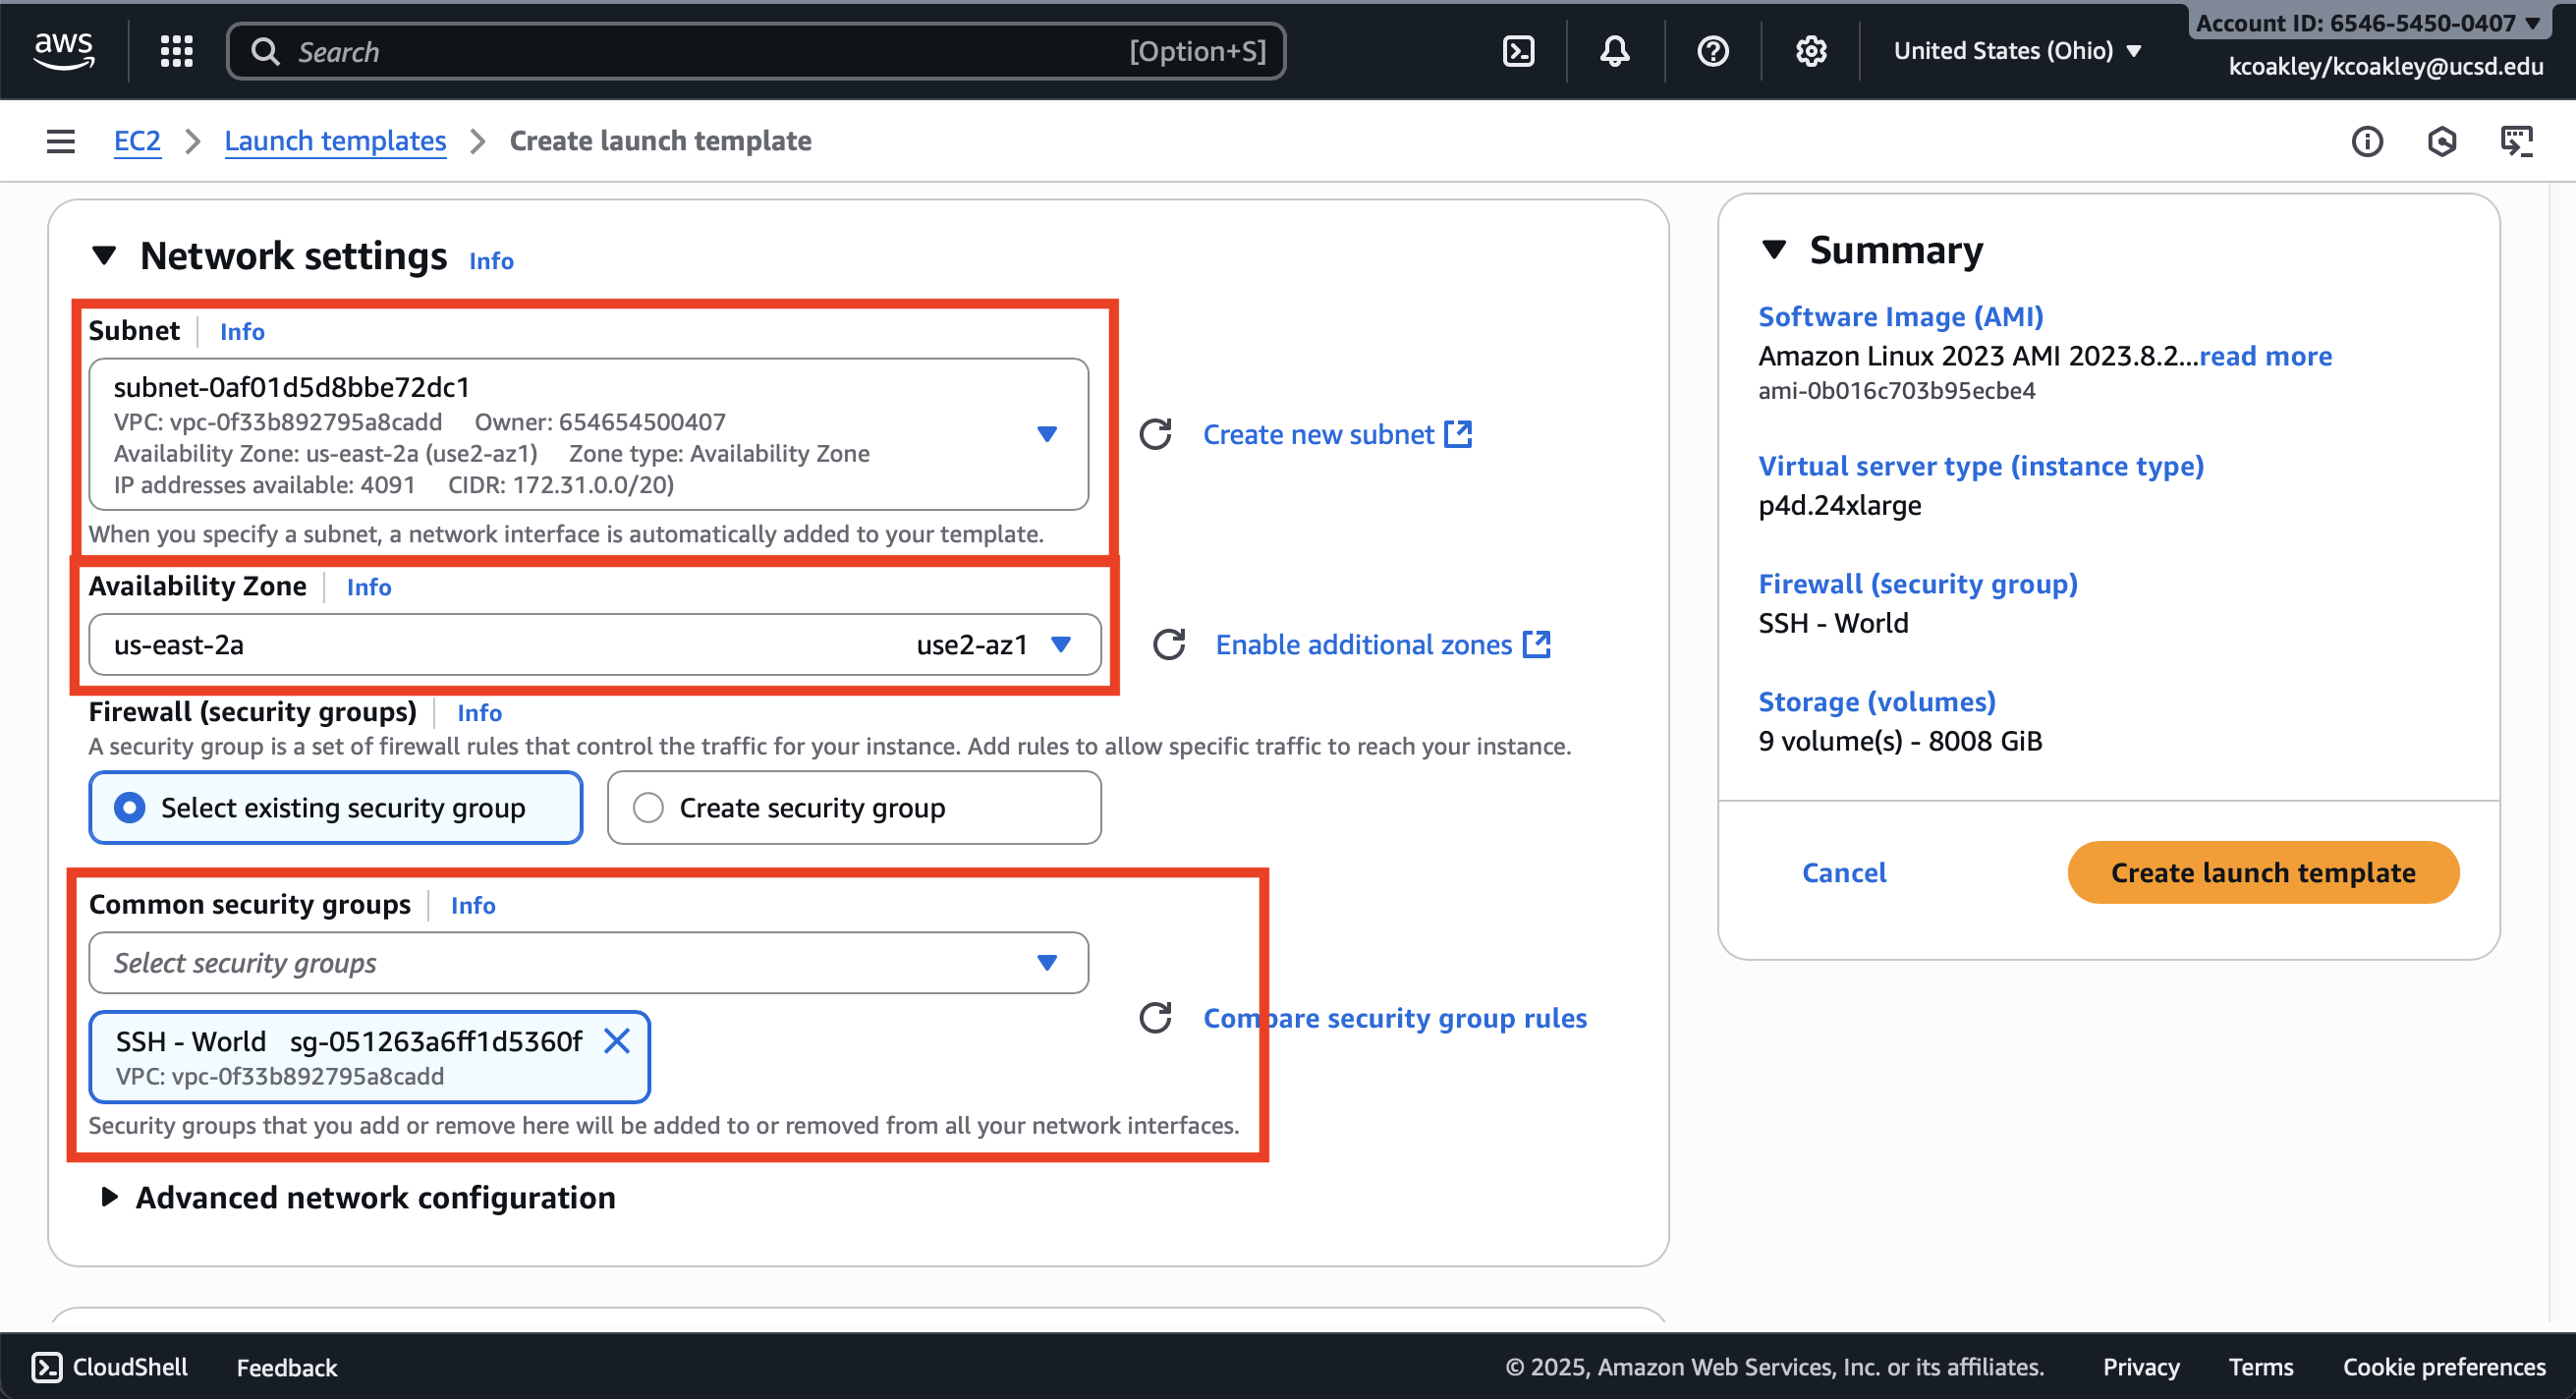
- Network settings
- Subnet and Availability Zone
- Select the
Subnetthat matches the availability zone selected for the Capacity Block.- Note that the availability zone ends with a letter, the Subnet must be in the exact same Availability Zone, including the letter.
- Then select the
Availability Zoneselected for the Capacity Block.
- Select the
- Security Groups
- Finally, select the
Security Groupfor the instance.
- Finally, select the
- Subnet and Availability Zone
- Storage (volumes)
- If an AMI is specified in Application and OS Image, a default root volume may be automatically listed here. Additional EBS volumes can be added if needed.
- Advanced details
- Shutdown behavior
- Purchase option
- Capacity Reservation
- If you have already made a Capacity Blocks reservation, select the Capacity Blocks reservation ID from the Capacity reservation targeted ID drop down list.
- User data
- Provide bootstrap shell scripts of
cloud-initto run at instance startup
- Provide bootstrap shell scripts of


A summary of the launch template will be displayed on the right hand side.
When finalized and ready, select Create launch template.

A success message will be displayed as well as some suggested next steps.
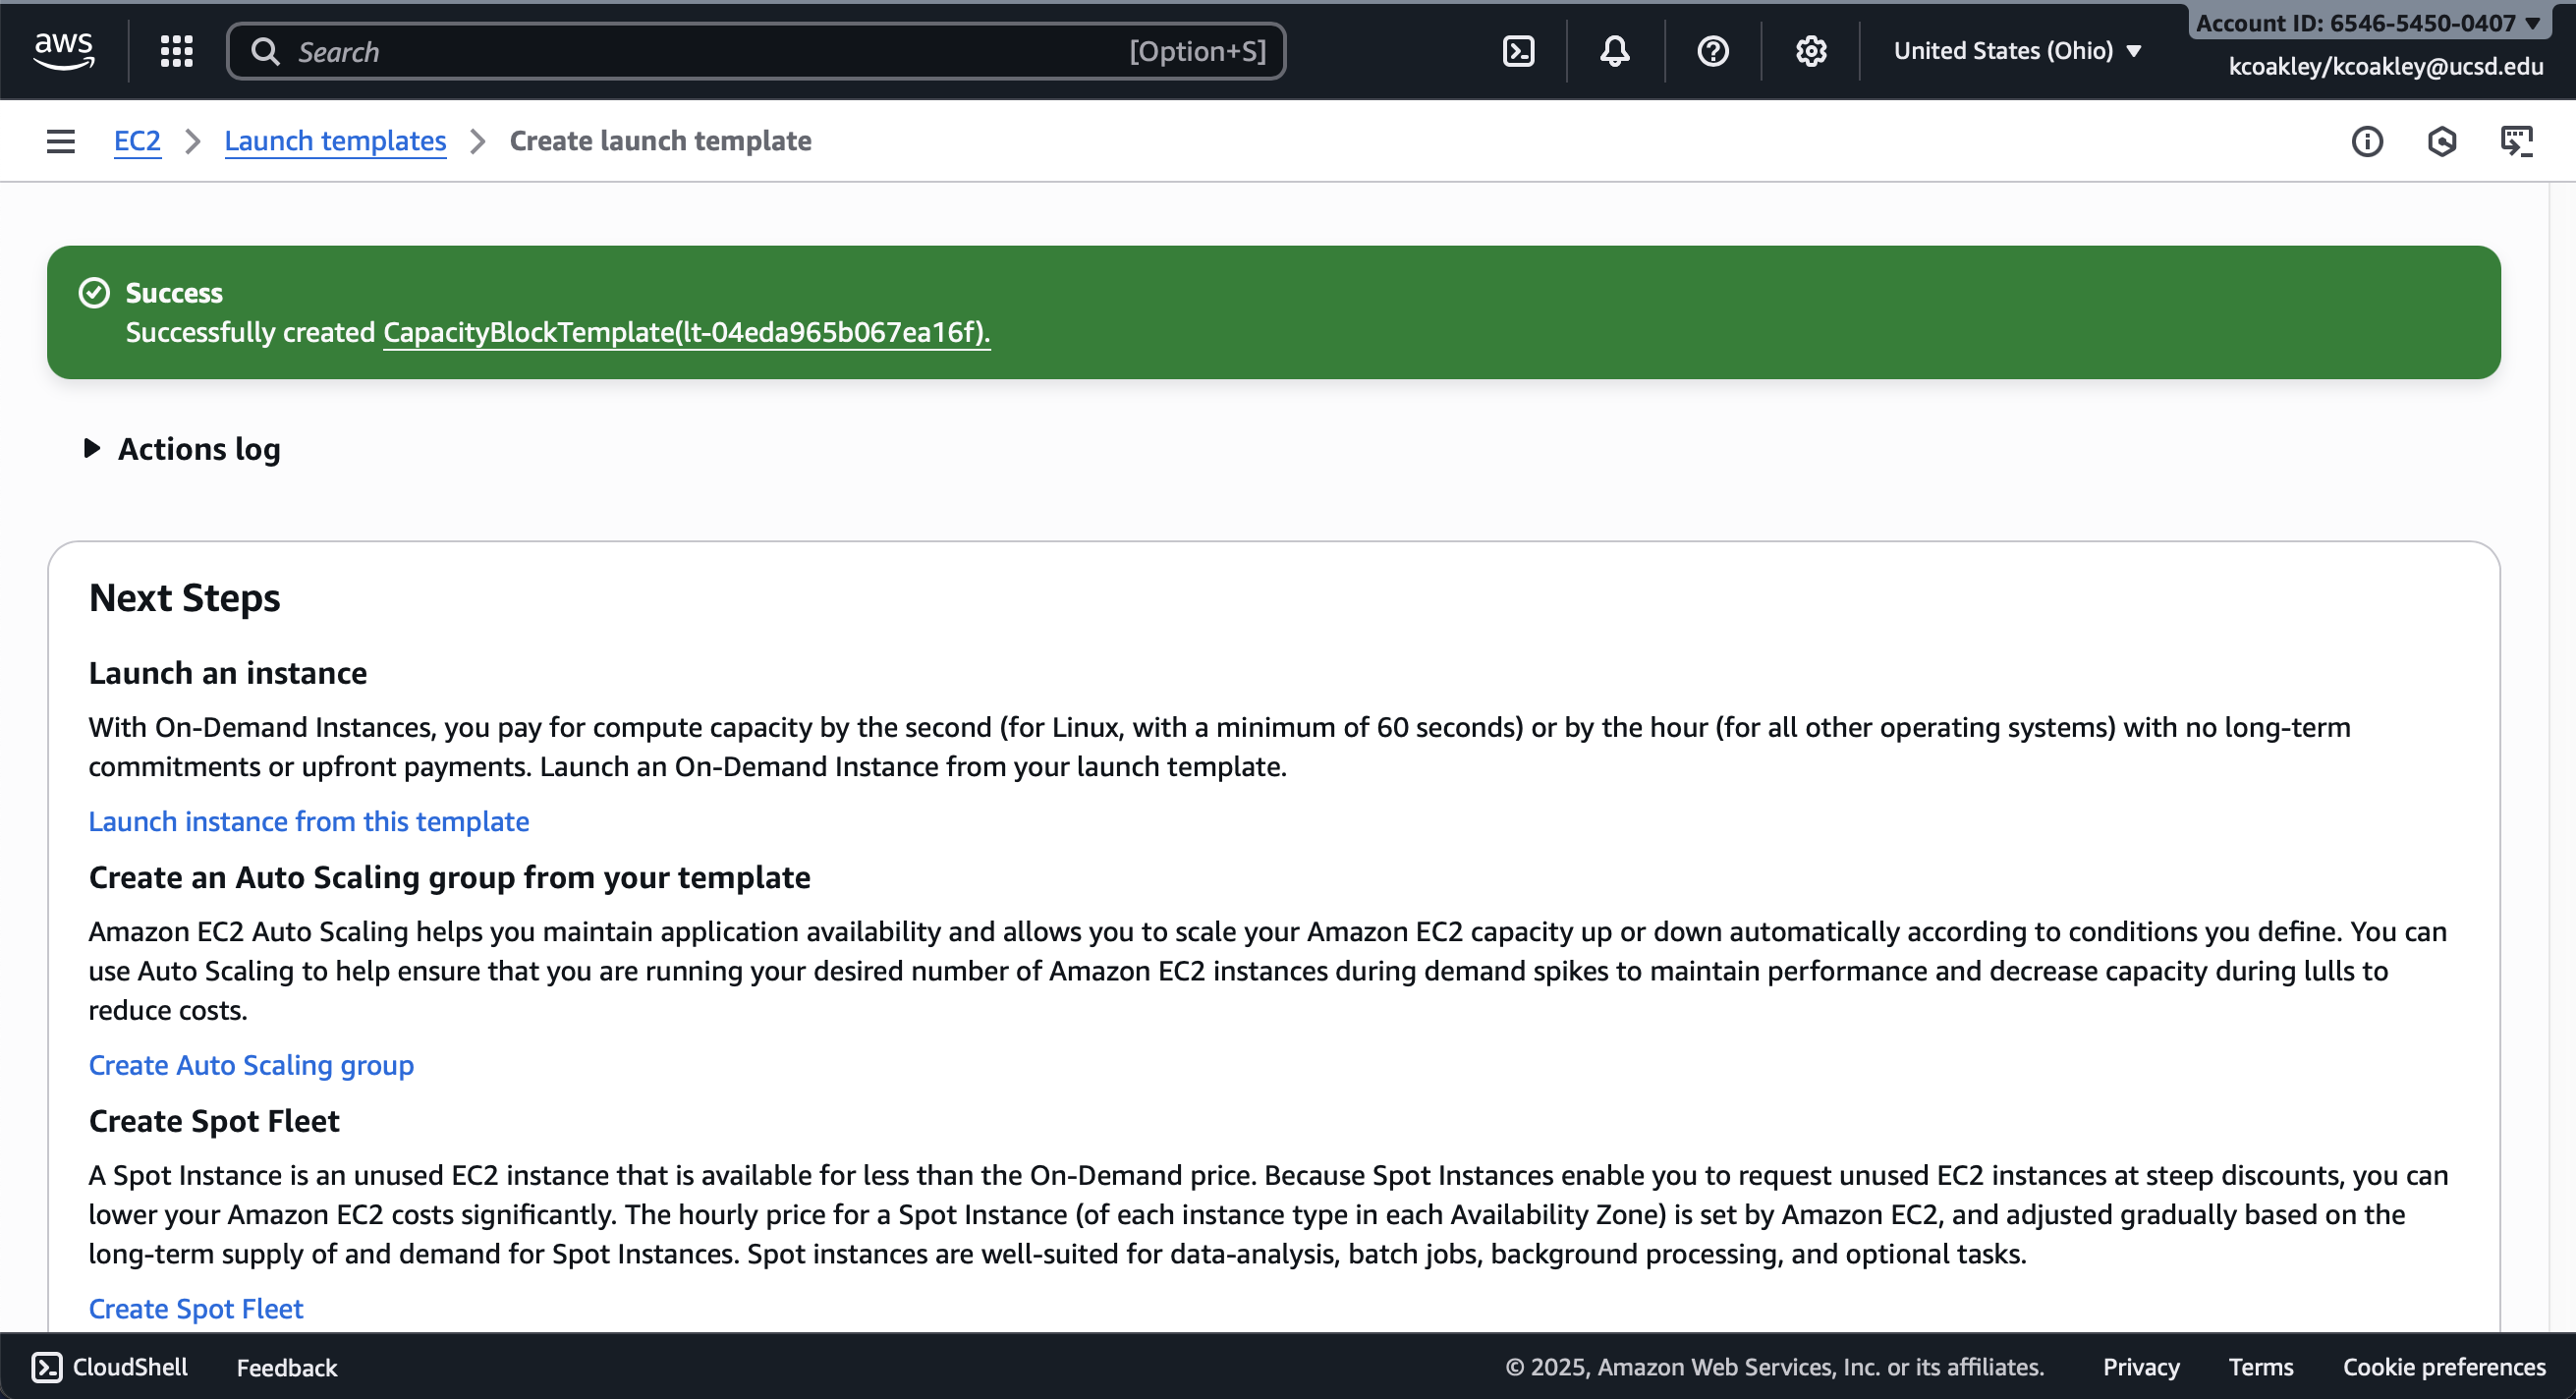
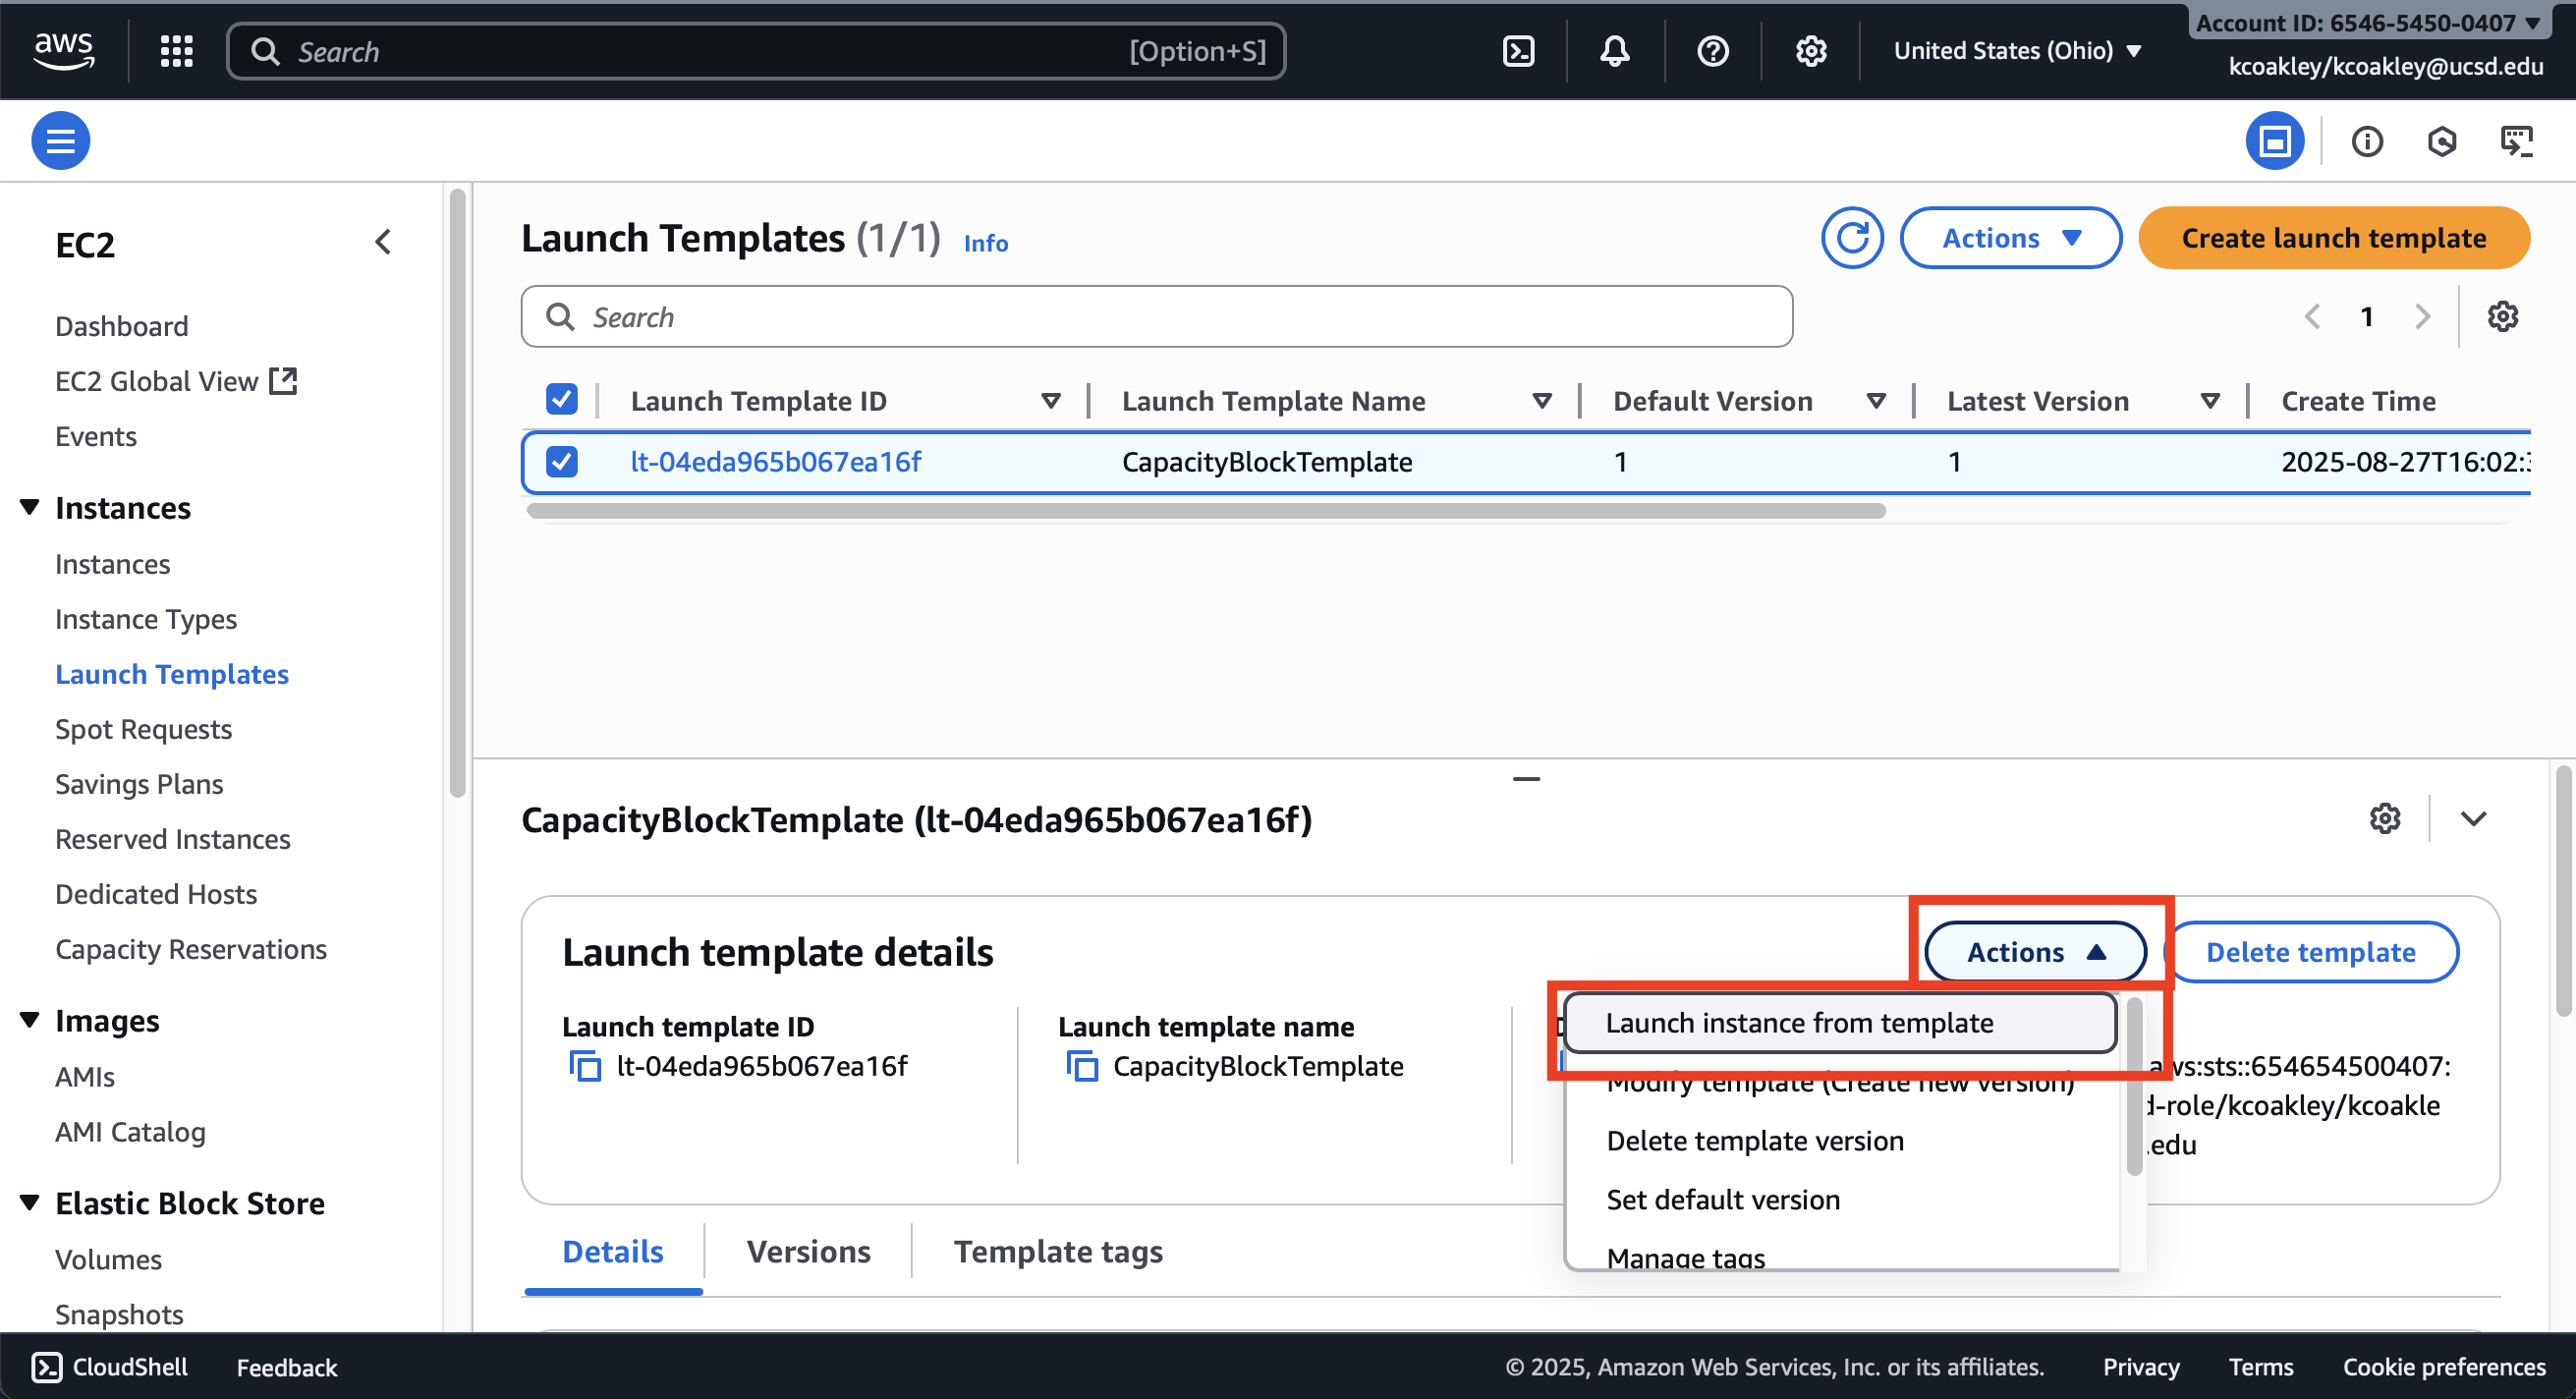
To launch an instance based on the Launch Template, select the Launch Template then under the Actions button, select the Launch instance from template.
Creating a Launch Template From an Existing Instance
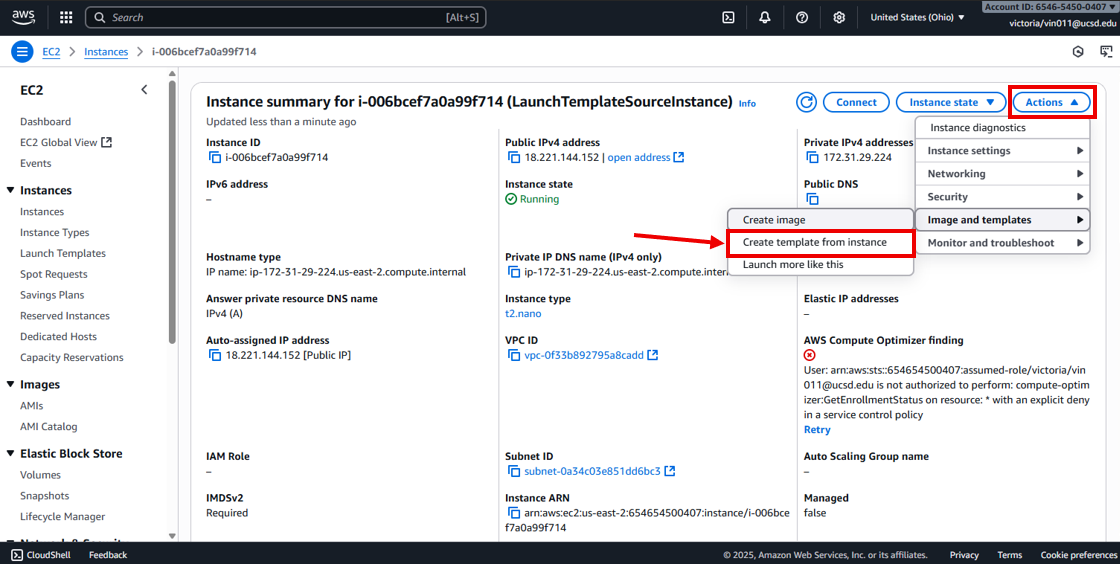
Go to the EC2 dashboard and select Instances on the left navigation. For the desired instance to use as launch template source, click on the Instance ID.

Additional instance details, summaries, and options should be shown. Select Actions, Image and templates, and then Create template from instance.
Provide a name, review and adjust the launch parameters as required. When ready, select Create launch template.
